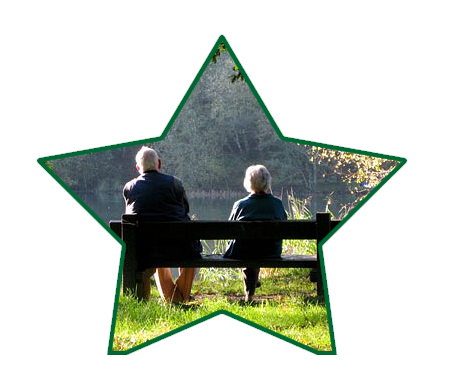
Adding a
border or stroke to an image or part of an image when selected can be completed
in a few straightforward steps using the tools in Expert Mode. The stroke can
be black, white or any color chosen from the color picker.This example
uses the elliptical marquee tool. Alternatively the rectangle marquee or any
selection tool could be used.
- Open Image
- Select elliptical marquee tool and drag out over your subject
- Use arrow keys to nudge into perfect position
- Press Ctrl+J (Cmd+J) to create a new layer
- In layers pallet click eyeball icon to turn off background layer
- Select Magic wand tool and click anywhere on transparency (checkerboard area)
- From the menu choose Select >> Inverse
- From the menu choose Edit >> Stroke
- Choose inside and set color and size, then click OK
- Chose Select >> Deselect
- Save as jpeg or PNG
Saving as PNG24
will preserve the surrounding transparent pixels and when the image is uploaded
to a web site the page background color or design will show through the transparency.


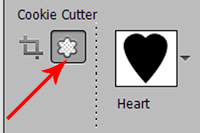
It is also possible
to use the cookie cutter tool (found in the tool options with the crop tool) by
choosing one of the many shapes from the drop-down library. Any shape with a black
thumbnail can be used to make the cut-out.

No comments:
Post a Comment
Note: only a member of this blog may post a comment.